Liquid Penetrant Examination
Crack detection by using the penetrant testing
Our FPI systems mainly use the penetrant testing (PT) – one of the main methods for non-destructive testing of materials.
Principle of the liquid penetrant inspection
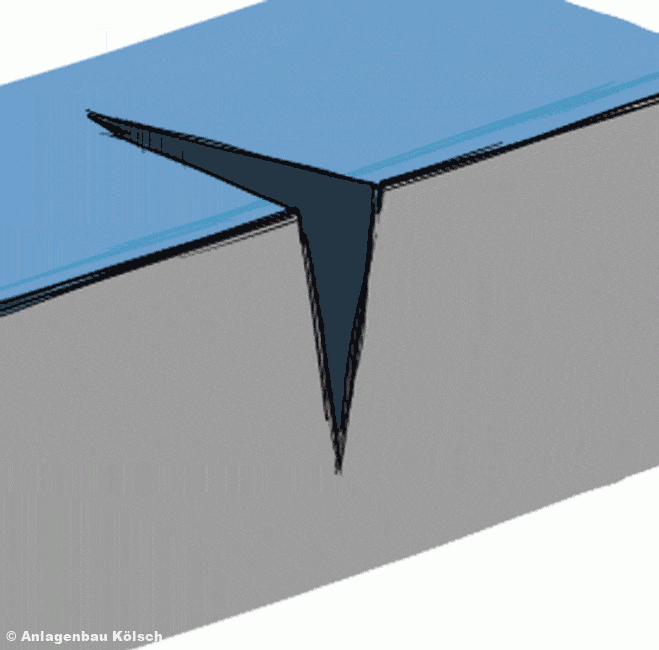
1. Contaminated crack
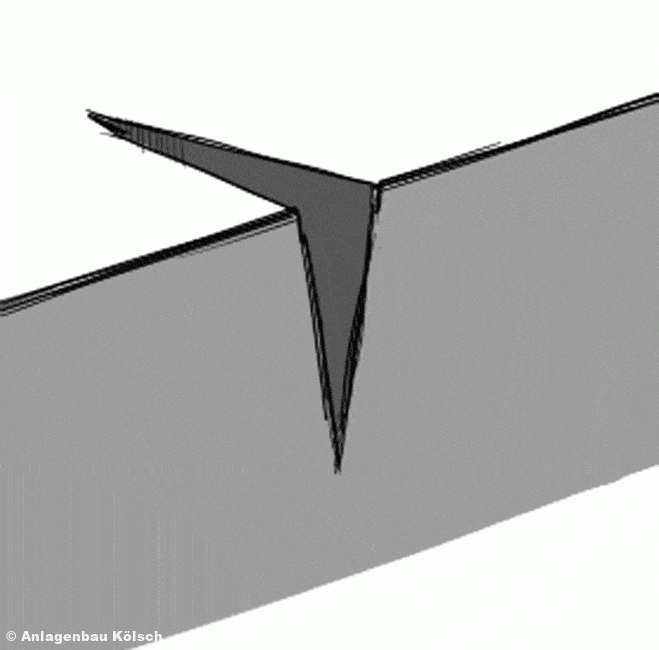
2. Pre cleaning
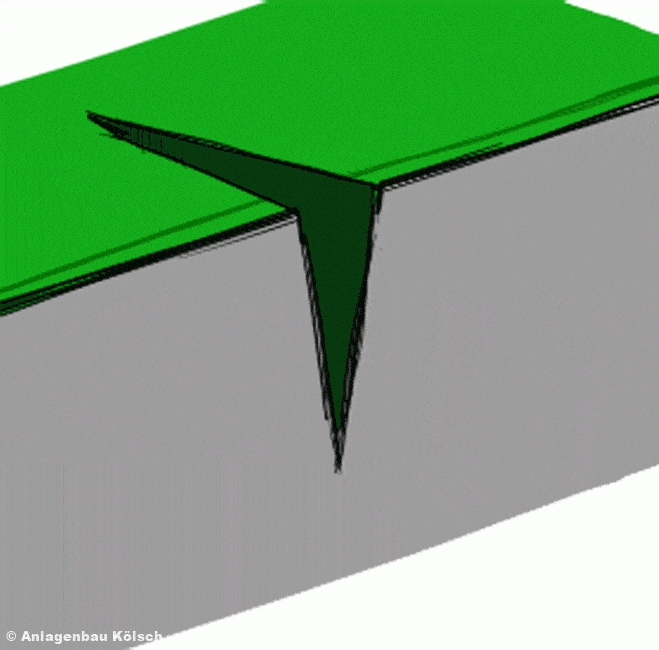
3. Dwell time
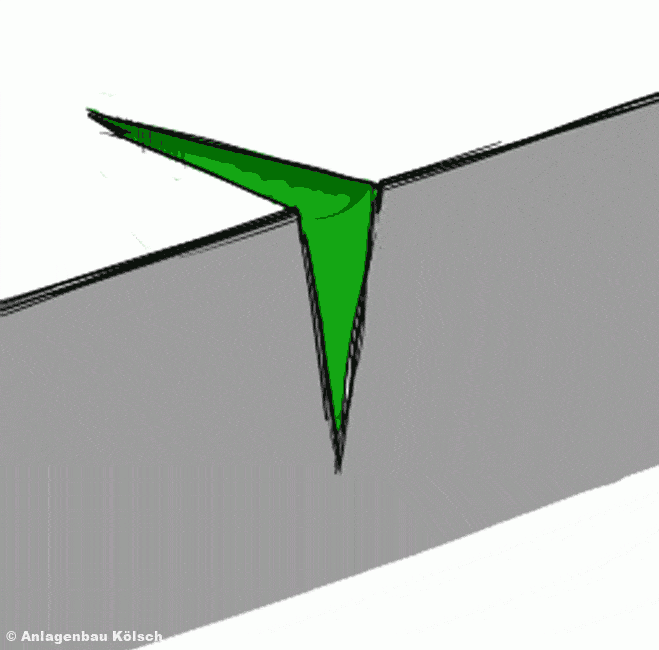
4. Excess penetrant removal
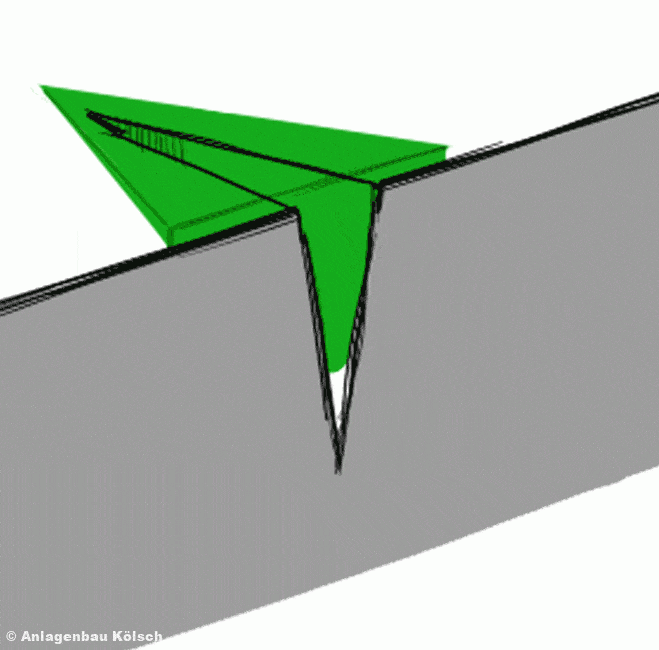
5. Indication with developer
The advantage
This procedure can be used with any sort of material. The method is based on the physical law of capillarity and can be divided into various steps which follow a predetermined order. First, the materials and the presumed specimens must be cleaned and dried. Washing the workpiece with clear water and drying them in a convection oven at 120°C should be sufficient. Afterwards, the penetrant, which takes up to 30 minutes dwell time, can be applied. This is followed by an excess penetrant removal, to make sure the surface is free of any remains of penetrant. This requires high caution since the penetrant should only be removed from the surface, but not the crack itself. Now the object has to be dried once again before the developer is applied. This developer sucks the penetrant out of the crack and makes them visible for the naked eye or under an UV-light, depending on the liquid used earlier. Red penetrant and white developer make it possible to see the results without any further helping devices, fluorescing penetrants require an UV-light to analyze the results.
The only condition for the penetrant testing (PT) is that all the crack’s openings lay on the surface of the workpiece, otherwise it requires further steps like abrasion or derusting.
